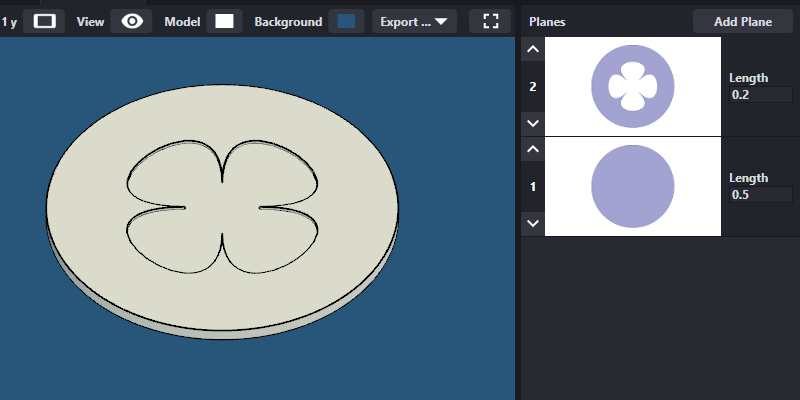
Create a 3D Coaster
Use the Series generator to create a circular coaster with an SVG shape cut into it.
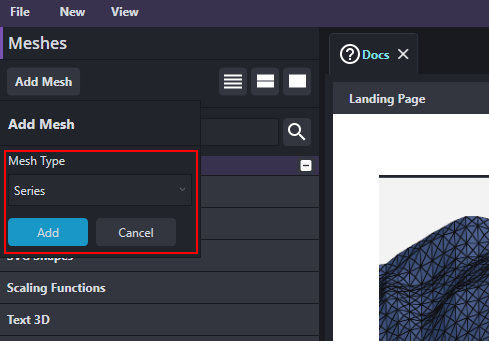
First create a new series mesh type. Using a series mesh type you can define a series of 2d surfaces that are extruded in order.
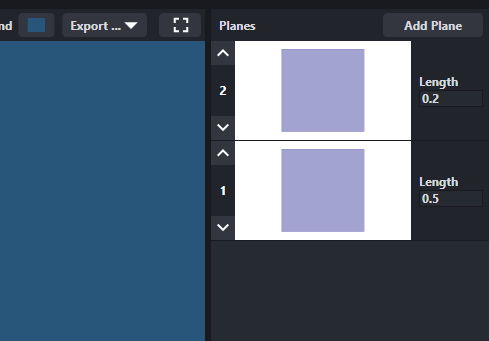
In the newly created series, click "Add Plane" to add a new surface to the series. After it is added, set the plane lengths to 0.2 for the top layer, and 0.5 for the bottom.
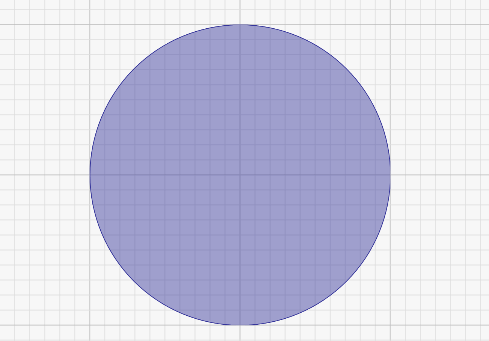
Open the bottom layer in the 2D editor by double clicking the layer preview. In the shape editor screen, delete out the default square and add a circle with radius = 10 and circle points = 128.
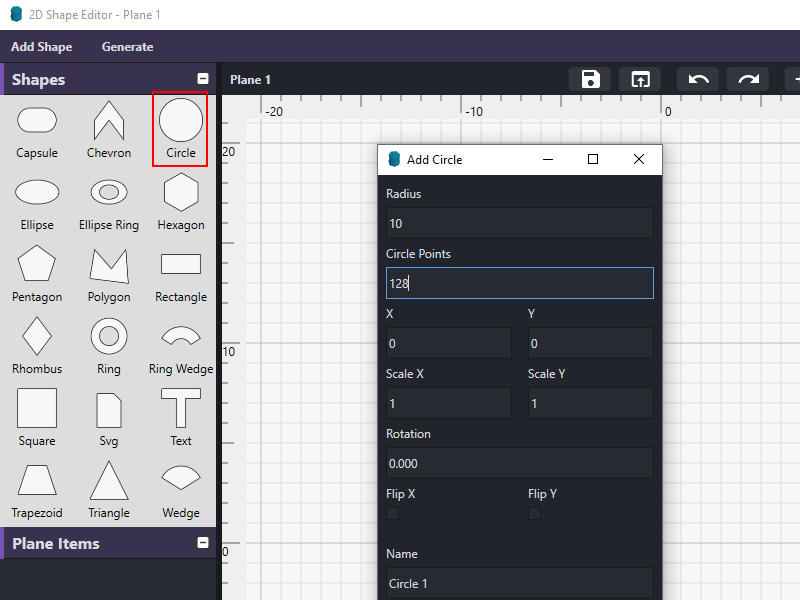
The added circle should now be on editor surface appearing at the center of the grid.
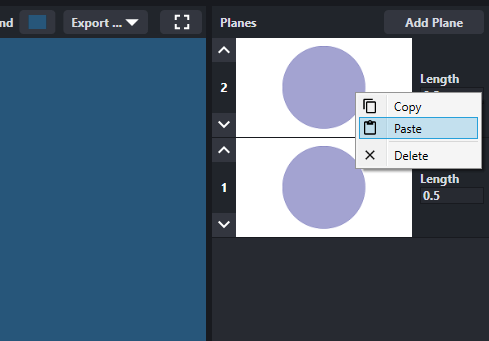
Now go back the the series main screen. Copy the circle you just created to the other layer. You can do this by right-clicking the bottom plane and selecting "Copy". Then right-clicking the top plane, and selecting "Paste".
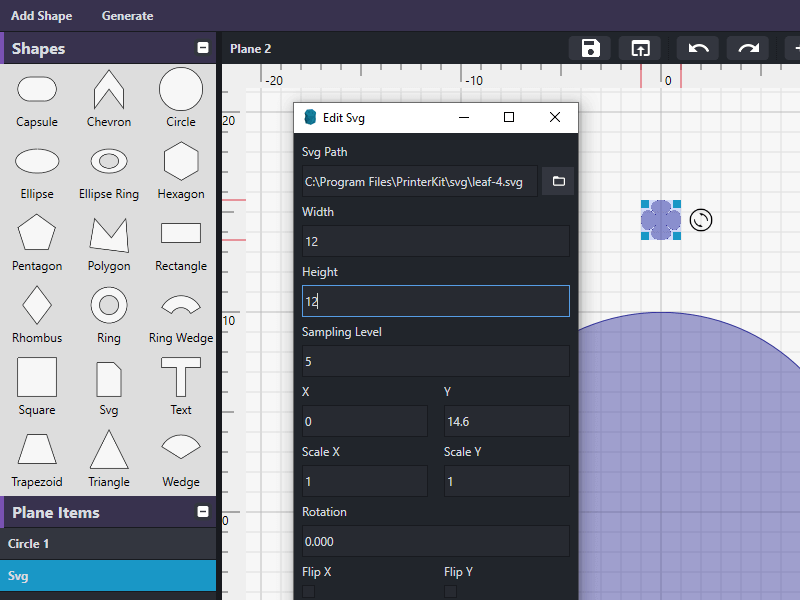
Double-click the top plane to open it in an editor window. Select the "SVG" shape type button, and drag it onto the editor surface. This will create the default SVG on the grid, double-click the SVG to edit it. Set the width to 12 and height to 12. Click "Save SVG" when finished.
Right-click the leaf svg and select "Center (At Origin)". You should now have two shapes in the grid that appear as follows.
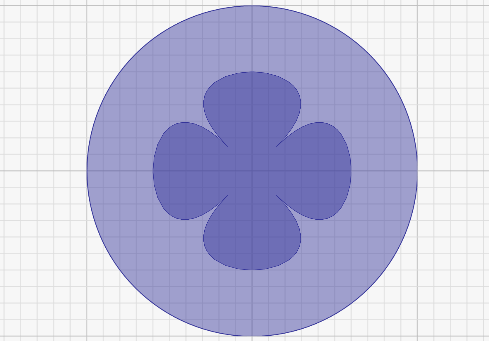
Now use the difference operation to cut the svg shape out of the circle. To do this, first select the circle shape, then click "Boolean Ops - Difference". Next select the SVG shape, and finally click the "Boolean Ops - Difference" button again. The leaf SVG will still be there after the operation. Select it and delete it so the final plane surface looks like the following.
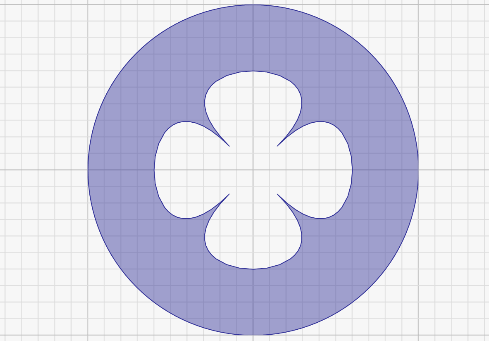
Now that you've created both planes, all that's left is to generate your 3D model. Back in the series view, click on "Run Series" to create your 3D coaster from your two plane surfaces.
